Tissue Paper Flowers - Crafting Beauty
There's something truly special, so very delightful, about crafting with your hands, isn't there? It’s a bit like, you know, bringing a little bit of magic into the everyday. And when we talk about simple yet wonderfully charming creations, it's hard not to think about tissue paper flowers. These cheerful little blooms, seemingly delicate and light, actually hold a surprising amount of charm and versatility. They can brighten up any room, add a pop of color to a celebration, or simply bring a smile to your face just by being there. Really, they are a testament to how humble materials can transform into something quite beautiful.
You see, the word "tissue" itself, it’s quite interesting, actually. It comes from an old French verb, meaning "to weave." And in a way, when you're making these flowers, you are kind of weaving together layers of soft, pliable paper, much like threads come together to form a fabric. It’s a process that, you know, builds something new from individual components. Just like in nature, where different parts come together to form a whole, these paper blooms are an assembly of simple sheets, each playing its part in the final shape and form. It’s a quiet, creative pursuit, and the results are often quite stunning.
These pretty paper blossoms are more than just a craft project; they're a way to add a touch of handmade warmth to your surroundings. They don't wilt, they don't need water, and they can be made in any color you can imagine. So, whether you're looking for a fun activity for an afternoon, or perhaps a way to personalize a special event, learning how to create these lovely tissue paper flowers could be just the thing. It’s a simple skill, yet one that yields such lovely, lasting results, truly.
Table of Contents
- What are Tissue Paper Flowers?
- Why Make Tissue Paper Flowers?
- The Anatomy of a Tissue Paper Flower: A Closer Look
- Gathering Your Tools for Tissue Paper Flowers
- How to Make Basic Tissue Paper Flowers
- What Different Types of Tissue Paper Flowers Can You Make?
- Creative Uses for Your Tissue Paper Flowers
- Caring for Your Tissue Paper Flowers
What are Tissue Paper Flowers?
Well, when we talk about tissue paper flowers, we're essentially referring to decorative blossoms made from thin, somewhat translucent sheets of paper. This kind of paper, you know, is often used for wrapping presents or for crafts because it's so light and easy to shape. It's the very same type of "soft absorbent tissue paper" that's used as a handkerchief or for removing cosmetics, as it happens. These flowers are crafted by folding, cutting, and fluffing layers of this paper to mimic the appearance of real flowers. It’s a wonderful example of how a simple material can be transformed through a bit of effort and creativity.
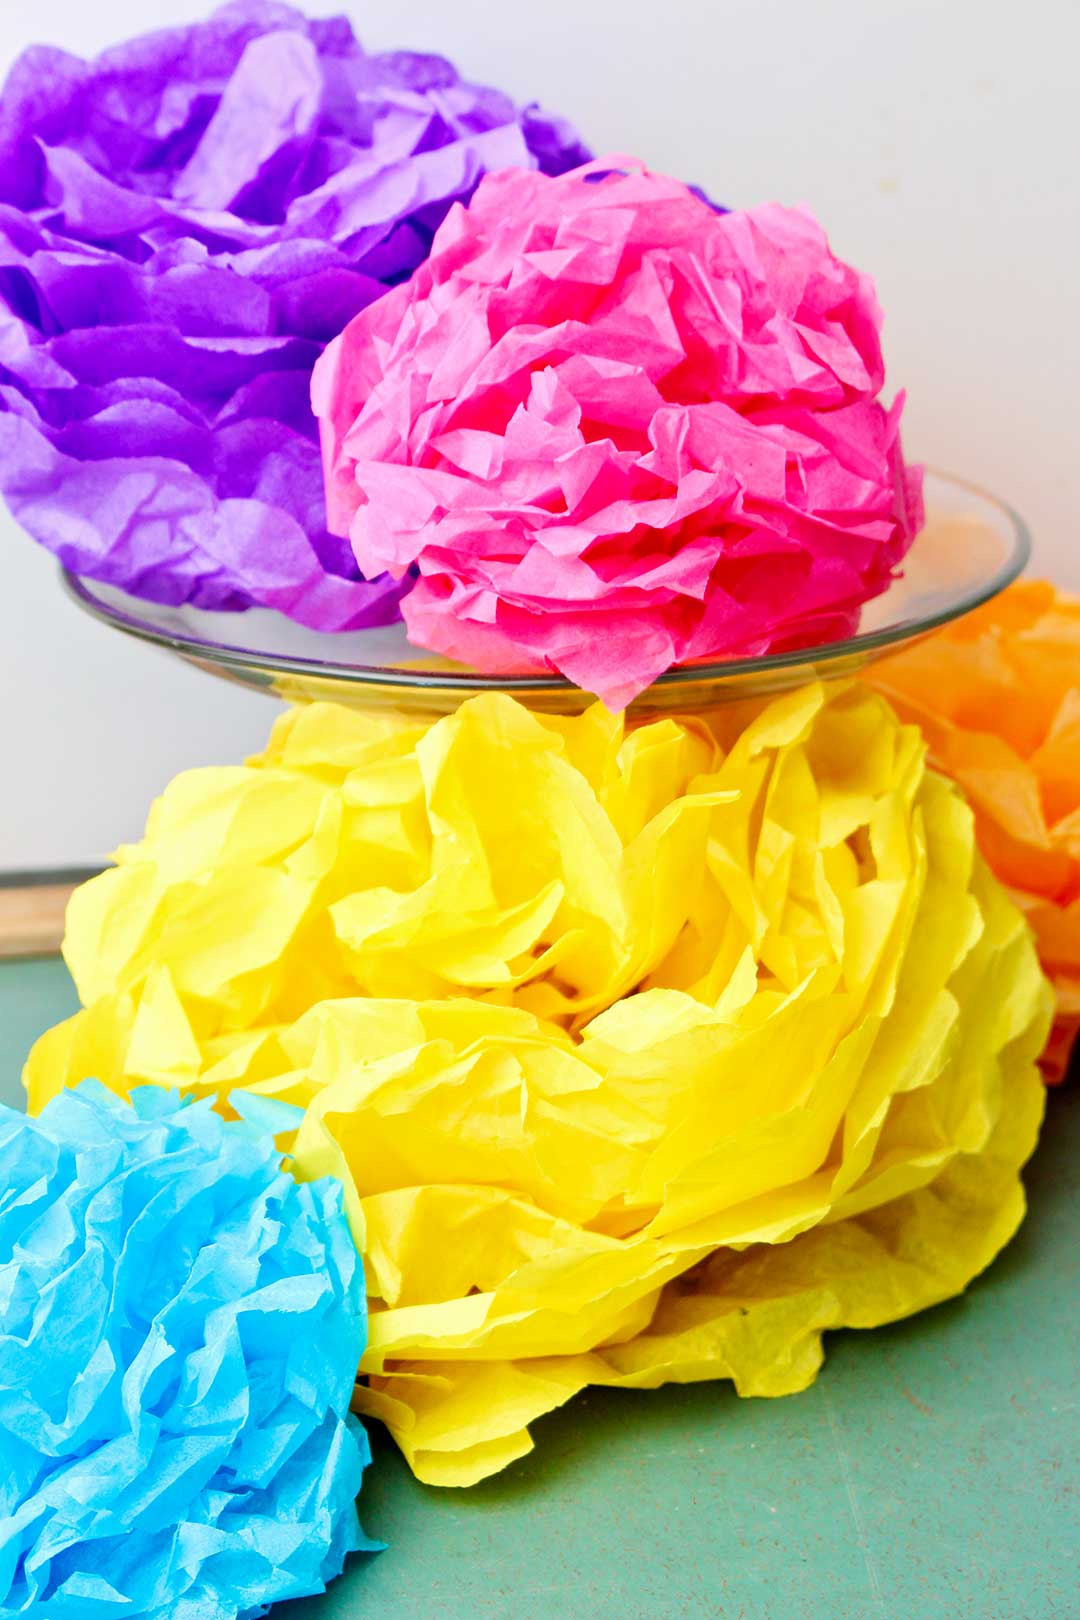
They come in all sorts of shapes and sizes, from tiny buds to grand, show-stopping blooms. The beauty of them, in some respects, lies in their delicate, almost ethereal quality. They don't have the weight or rigidity of real flowers, but that's part of their charm. They flutter with the slightest breeze, creating a whimsical, playful feel. And, you know, because they're made of paper, they last indefinitely, offering a permanent burst of color and cheer wherever they are placed. It's a rather lovely way to bring a bit of lasting nature-inspired beauty into your home or event space, too.
Why Make Tissue Paper Flowers?
So, why would someone choose to spend their time making these paper blooms? Honestly, there are quite a few good reasons. For one thing, it's a very accessible craft. You don't need a lot of fancy equipment or expensive supplies. The main material, tissue paper, is generally quite inexpensive and easy to find. This means it’s a craft that nearly anyone can try, regardless of their budget or prior crafting experience. It’s pretty much an activity that welcomes everyone, you know?
Another great thing about creating tissue paper flowers is the sheer joy of the process itself. It’s a calming, repetitive action that can be very meditative. You get to work with your hands, see a creation come to life layer by layer, and experience the satisfaction of making something beautiful from scratch. It’s a wonderful way to unwind after a busy day, or perhaps a nice project to share with friends or family. Plus, the end product is something you can genuinely feel proud of, something that adds a personal touch to your surroundings. It’s quite rewarding, actually.
And let's not forget the practical benefits. Unlike fresh flowers, these paper versions won't wilt or trigger allergies. They're perfect for events where you need decorations to last for a long time, or for spaces where real flowers might not thrive. They are also incredibly versatile in terms of color and design. You can mix and match shades to create custom arrangements that perfectly suit your décor or party theme. So, in many ways, they offer a really practical and pretty alternative to fresh blossoms, too.
The Anatomy of a Tissue Paper Flower: A Closer Look
When you look at a natural flower, you see distinct parts: petals, sepals, a stem, and so on. In a similar way, a tissue paper flower, while simplified, also has its own distinct components that work together to create the final form. You might think of it a bit like how different types of biological tissue in the body, such as connective tissue or epithelial tissue, each have their own specific jobs but come together to form a functioning organism. Here, the individual sheets of paper and how they are folded and cut are the "components" that give the flower its structure and visual appeal.
The core of most tissue paper flowers involves several layers of paper, stacked one on top of the other. These layers are then folded in an accordion style, much like a fan. This folding is crucial because it creates the volume and texture that mimics a real flower's petals. The edges of these folded layers are often cut into various shapes—rounded, pointed, or fringed—to create different petal styles. This shaping of the edges is what gives each tissue paper flower its unique character, you know.
Once folded and shaped, the layers are usually secured at the center, often with a pipe cleaner or wire, which then also serves as the stem. The magic happens when you gently pull apart and fluff each individual layer of paper, separating them one by one. This process transforms the flat, folded paper into a three-dimensional bloom. It’s a bit like watching something expand and come to life right before your eyes. The more care you take in fluffing, the fuller and more lifelike your tissue paper flower will appear, too.
Gathering Your Tools for Tissue Paper Flowers
Before you get started on your tissue paper flower project, it's a good idea to gather all your supplies. The great news is that you don't need a huge array of specialized items. Most of what you'll need is pretty common, probably things you might even have lying around the house or can pick up very easily at a craft store. It’s not like you need a whole workshop, you know, just a few basic bits and pieces.
First and foremost, you'll need the star of the show: tissue paper. This comes in a huge variety of colors, so you can really let your imagination run wild. Think about the colors of real flowers, or perhaps create something completely fantastical! You'll also want a good pair of scissors, something that can make clean cuts through multiple layers of paper. A ruler might be helpful for measuring, especially if you want your flowers to be a specific size. And then, for securing the center of your tissue paper flowers, pipe cleaners or floral wire are usually the best choices. These will also act as your stems, making it easy to arrange your finished blooms. Some people also like to use a bit of craft glue, or maybe some floral tape, especially for more complex designs or to attach leaves, but that's not always strictly necessary for the basic ones. So, it's a fairly simple setup, really.
How to Make Basic Tissue Paper Flowers
Making a basic tissue paper flower is surprisingly straightforward, and it's a great starting point for anyone new to crafting. It's a bit like learning the fundamental steps in any process, where mastering the simple actions sets you up for more intricate creations later on. You'll find that once you get the hang of this basic technique, you can easily adapt it to create all sorts of variations, which is rather nice.
- Prepare Your Paper: Start by stacking several sheets of tissue paper together. The more sheets you use, the fuller your tissue paper flower will be. Typically, anywhere from 6 to 10 sheets works well. You might want to trim them to your desired size; larger squares will make bigger flowers.
- Accordion Fold: Now, fold the stacked paper like an accordion, making folds about an inch wide. Try to keep your folds as even as possible, as this will help the flower look neat and symmetrical. It’s a bit like folding a fan, you know, back and forth.
- Secure the Center: Once you've folded the entire stack, pinch the middle of your folded paper. Wrap a pipe cleaner or a piece of floral wire tightly around this pinched center. This will hold all the layers together and also form the stem of your tissue paper flower.
- Shape the Ends: This is where you give your petals their look. Use your scissors to cut the ends of the folded paper. You can round them for a softer, more traditional petal shape, or cut them into points for a spikier, more dynamic appearance. You could even fringe them for a different texture.
- Fluff Your Flower: This is the most satisfying part! Carefully separate each layer of tissue paper, gently pulling them upwards and away from the center. Work one layer at a time, being careful not to tear the delicate paper. Fluff them up as much as you can, alternating sides, until your tissue paper flower takes on a full, rounded shape. It’s pretty much like watching it bloom, actually.
And that’s it! You've made your very first tissue paper flower. It’s a simple process, but the results are quite charming, and with a little practice, you’ll be making beautiful bouquets in no time. The feeling of seeing those flat sheets transform into a lovely blossom is really quite rewarding, too.
What Different Types of Tissue Paper Flowers Can You Make?
Once you've got the basic technique down for tissue paper flowers, you'll discover that there's a whole world of possibilities to explore. It's not just one standard type of bloom; you can adapt the method to create a surprising variety of floral forms. It’s a bit like how, in biology, a group of similar cells can work together to perform a function, but different groups perform different functions, leading to diverse structures. Here, slight changes in technique lead to very different flower types.
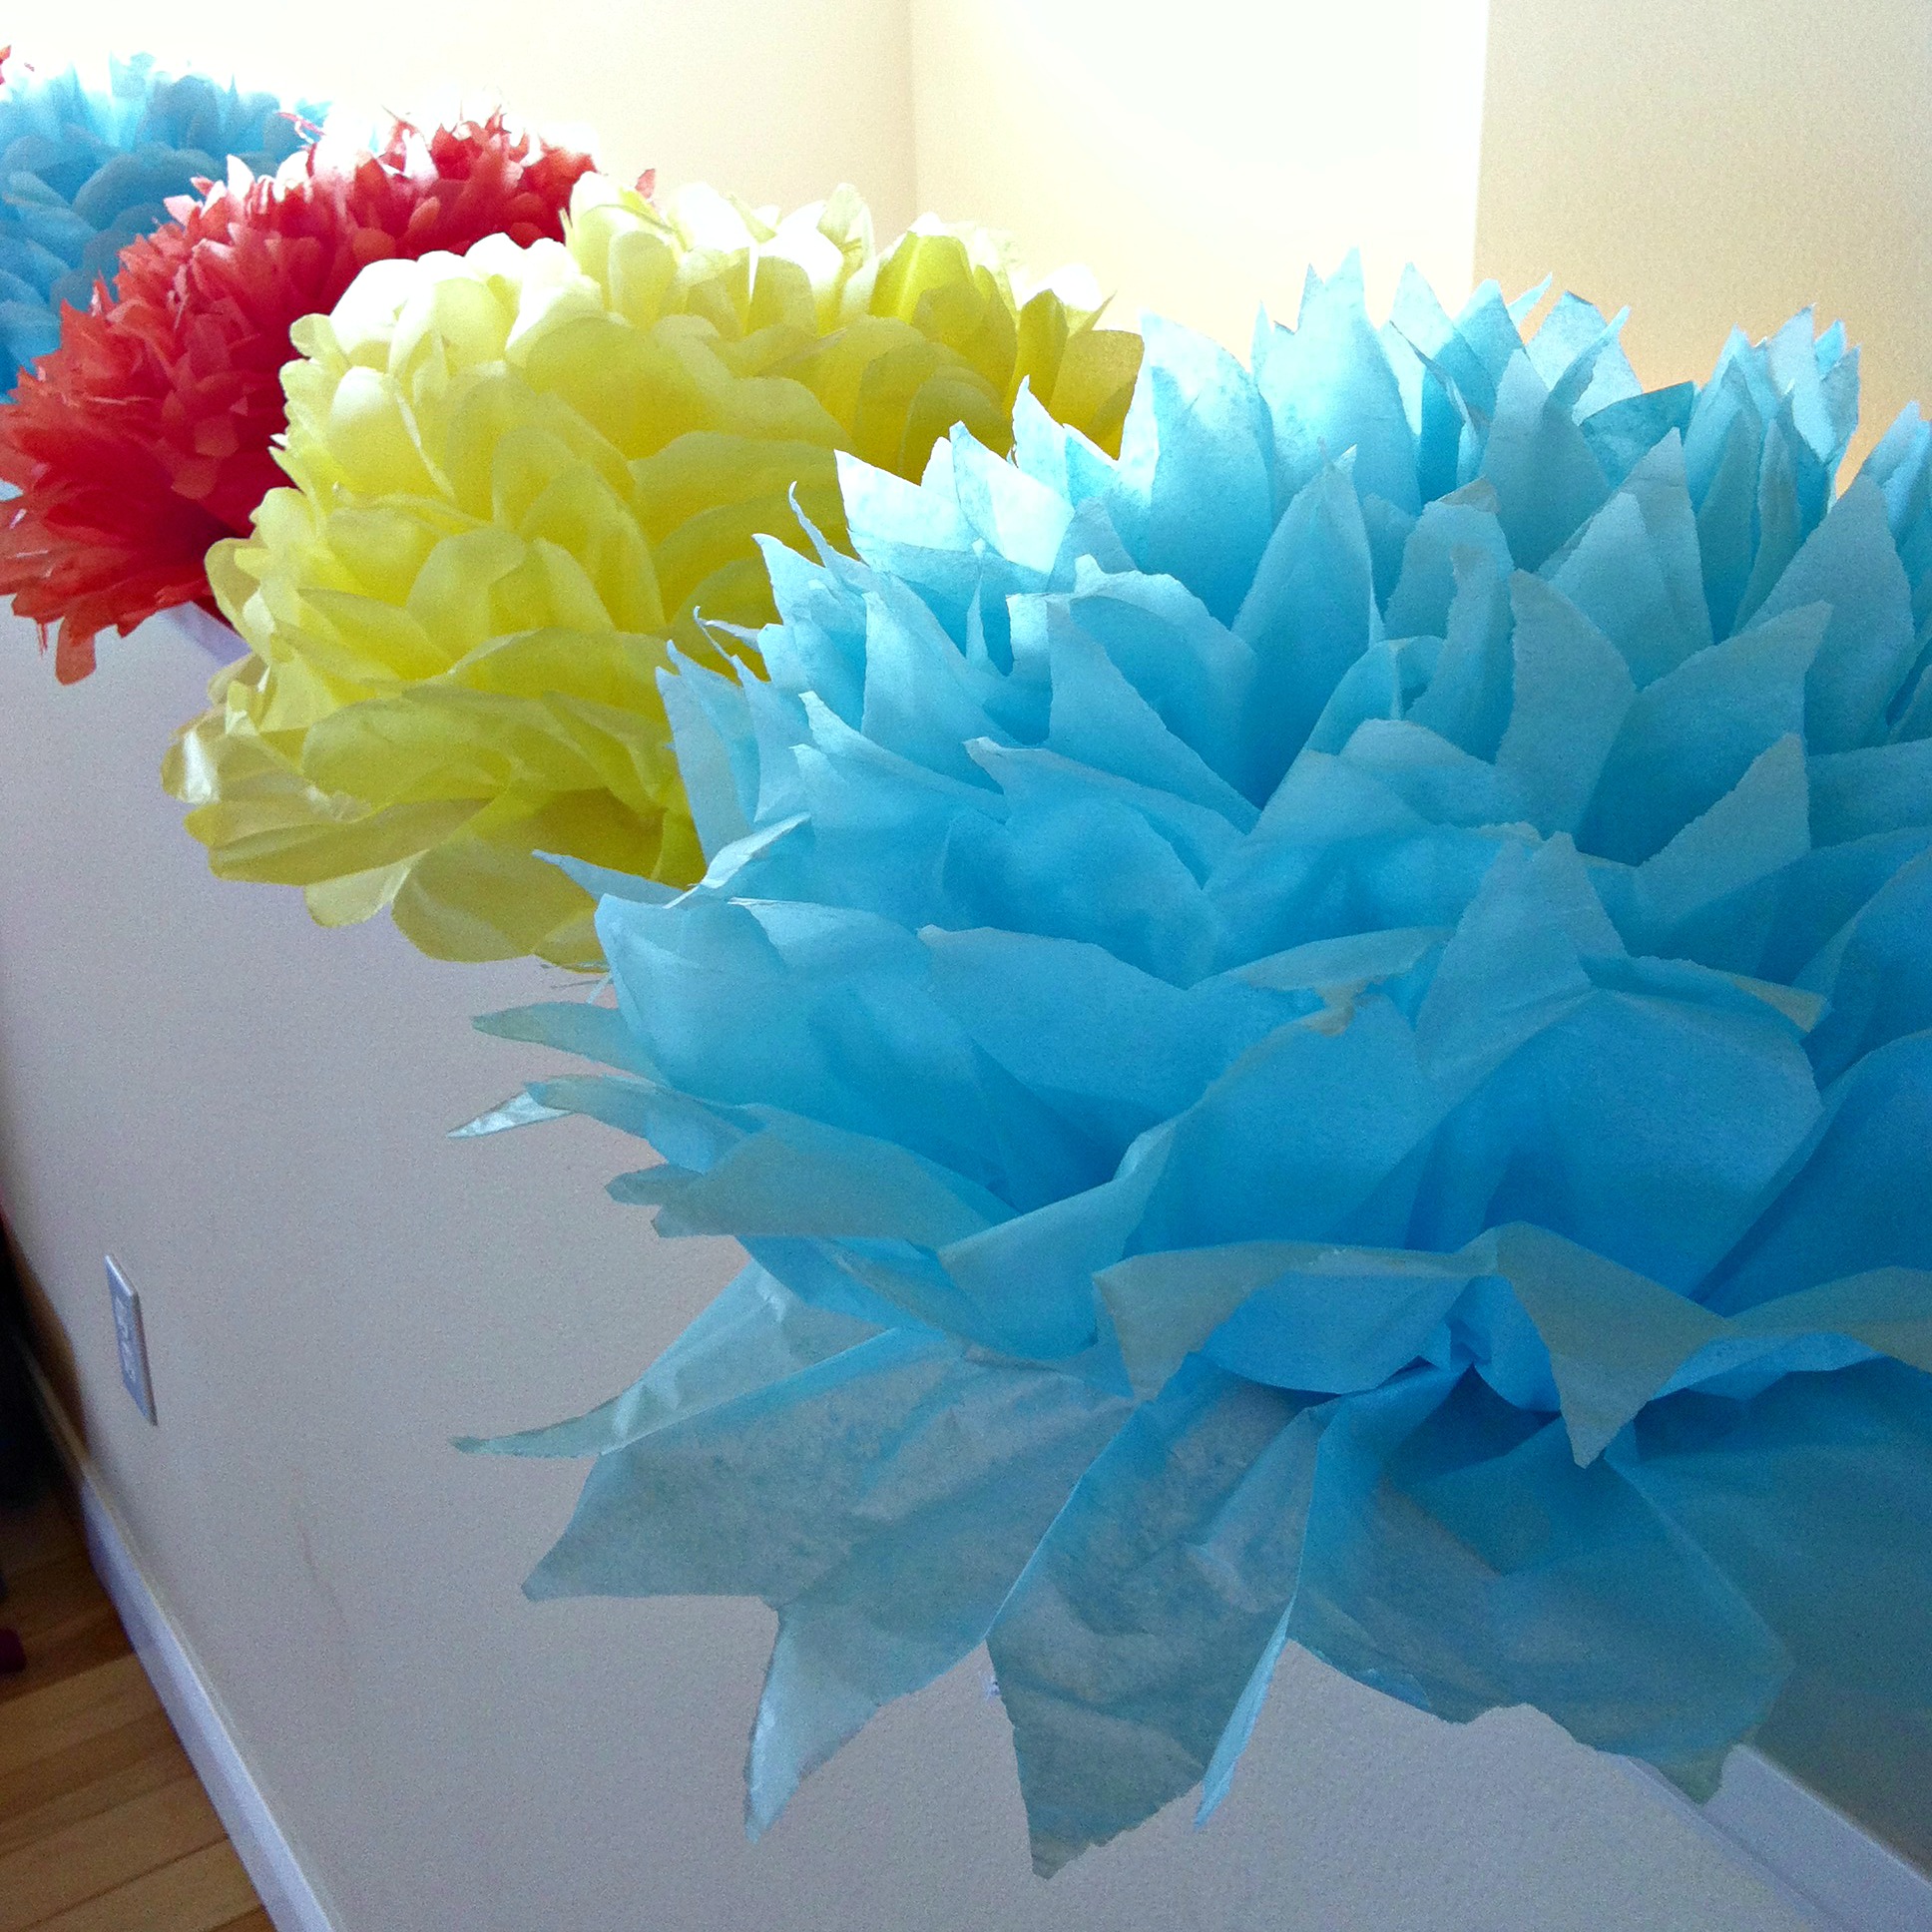
For instance, by changing the way you cut the edges of your folded paper, you can create petals that resemble carnations, peonies, or even hydrangeas. A rounded cut gives you a softer, more traditional look, while a pointed cut can make your tissue paper flower look more like a starburst or a spiky mum. Fringing the edges, which means cutting many small, close slits, can give your flower a fluffy, delicate texture, quite suitable for something like a dandelion or a fluffy pom-pom flower. You can also vary the size of your folds and the number of sheets you use to influence the overall fullness and scale of the bloom, you know.
Beyond just the cutting, you can also experiment with different colors. Using multiple shades within one flower, perhaps lighter on the outside and darker towards the center, can create a lovely gradient effect, adding depth and realism to your tissue paper flowers. Some people even incorporate different types of paper, like crepe paper for added texture or metallic paper for a bit of sparkle. The possibilities are honestly pretty vast, limited mostly by your imagination and the paper you have on hand. It’s a really fun way to explore color and form, too.
Creative Uses for Your Tissue Paper Flowers
So, you've made a bunch of these lovely tissue paper flowers. Now what? Well, the great thing about them is how incredibly versatile they are. They're not just for sitting in a vase; they can really add a touch of charm and whimsy to so many different settings. Think of them as little bursts of joy that can be placed almost anywhere, you know.
They make fantastic party decorations. You can string them together to create garlands, scatter them across tables as charming accents, or attach them to balloons for an extra festive touch. They're particularly popular for baby showers, birthdays, and even weddings, offering a budget-friendly way to add a lot of visual impact. They’re also wonderful for decorating children's rooms or nurseries, bringing a soft, playful element to the space. You can even make them in various sizes and arrange them on a wall to create a beautiful, three-dimensional art piece, which is pretty cool.
Beyond just decorating spaces, tissue paper flowers can also be used in more personal ways. Attach a smaller one to a gift package for a handmade embellishment that shows you put in a little extra thought. They can be used as props for photo shoots, adding a pop of color and texture. Some people even use them to create unique headbands or hair clips for special occasions. Because they are so light, they can be easily affixed to almost anything, making them incredibly adaptable for all sorts of creative projects. They are, in a way, little bundles of adaptable beauty, truly.
Caring for Your Tissue Paper Flowers
One of the best things about tissue paper flowers is that they require very little care. Unlike fresh blooms, they don't need water, sunlight, or special food. However, because they are made of paper, they do need a little consideration to keep them looking their best for a long time. It's pretty much about protecting them from a few common elements, you know.
The main things to watch out for are moisture and direct sunlight. Tissue paper is, by its nature, quite absorbent, so getting your flowers wet will almost certainly ruin them. Keep them away from spills, humid environments, or anywhere they might come into contact with water. Similarly, prolonged exposure to direct sunlight can cause the colors to fade over time, making your vibrant blooms look a bit dull. So, placing them in a spot where they receive indirect light, or perhaps in a room that doesn't get intense sun all day, is a good idea. They are quite delicate, so handling them gently when moving or storing them is also important. If they get a bit dusty, a soft brush or a gentle puff of air can usually take care of it without damaging the paper. With just a little bit of care, your tissue paper flowers can stay beautiful and cheerful for many years, which is quite a nice benefit, really.
So, we've explored the delightful world of tissue paper flowers, from understanding what they are and their interesting connection to the word "weave," to the simple steps involved in making them. We've seen how these humble sheets of paper, much like individual cells forming a functional tissue, come together to create vibrant, lasting blooms. We touched upon the joy of crafting them, the minimal tools needed, and the incredible variety you can achieve just by altering a few cuts or folds. Finally, we looked at the many creative ways these charming creations can brighten up spaces and add a personal touch to gifts, along with a few tips on keeping them looking fresh. They really are a testament to simple materials transforming into something quite special.
Easy Tissue Paper Flowers DIY - Welcome To Nana's
Tutorial- How To Make DIY Giant Tissue Paper Flowers - Hello Creative

Tissue Paper Flowers With Pipe Cleaner Stems | Best Flower Site
